Hey everybody and welcome back!
Today I have a fun tutorial to share featuring the April Creative Kit from My Creative Scrapbook.
I have a crafty confession to make...
I really do LOVE washi tape, and I have the large bowl housing my collection to prove it. However, I don't use it often enough. So when I saw these super cute washi tapes included in this month's Creative Kit...I knew I really wanted to go for it.
Here is a quick tutorial on how I created my washi tape background.
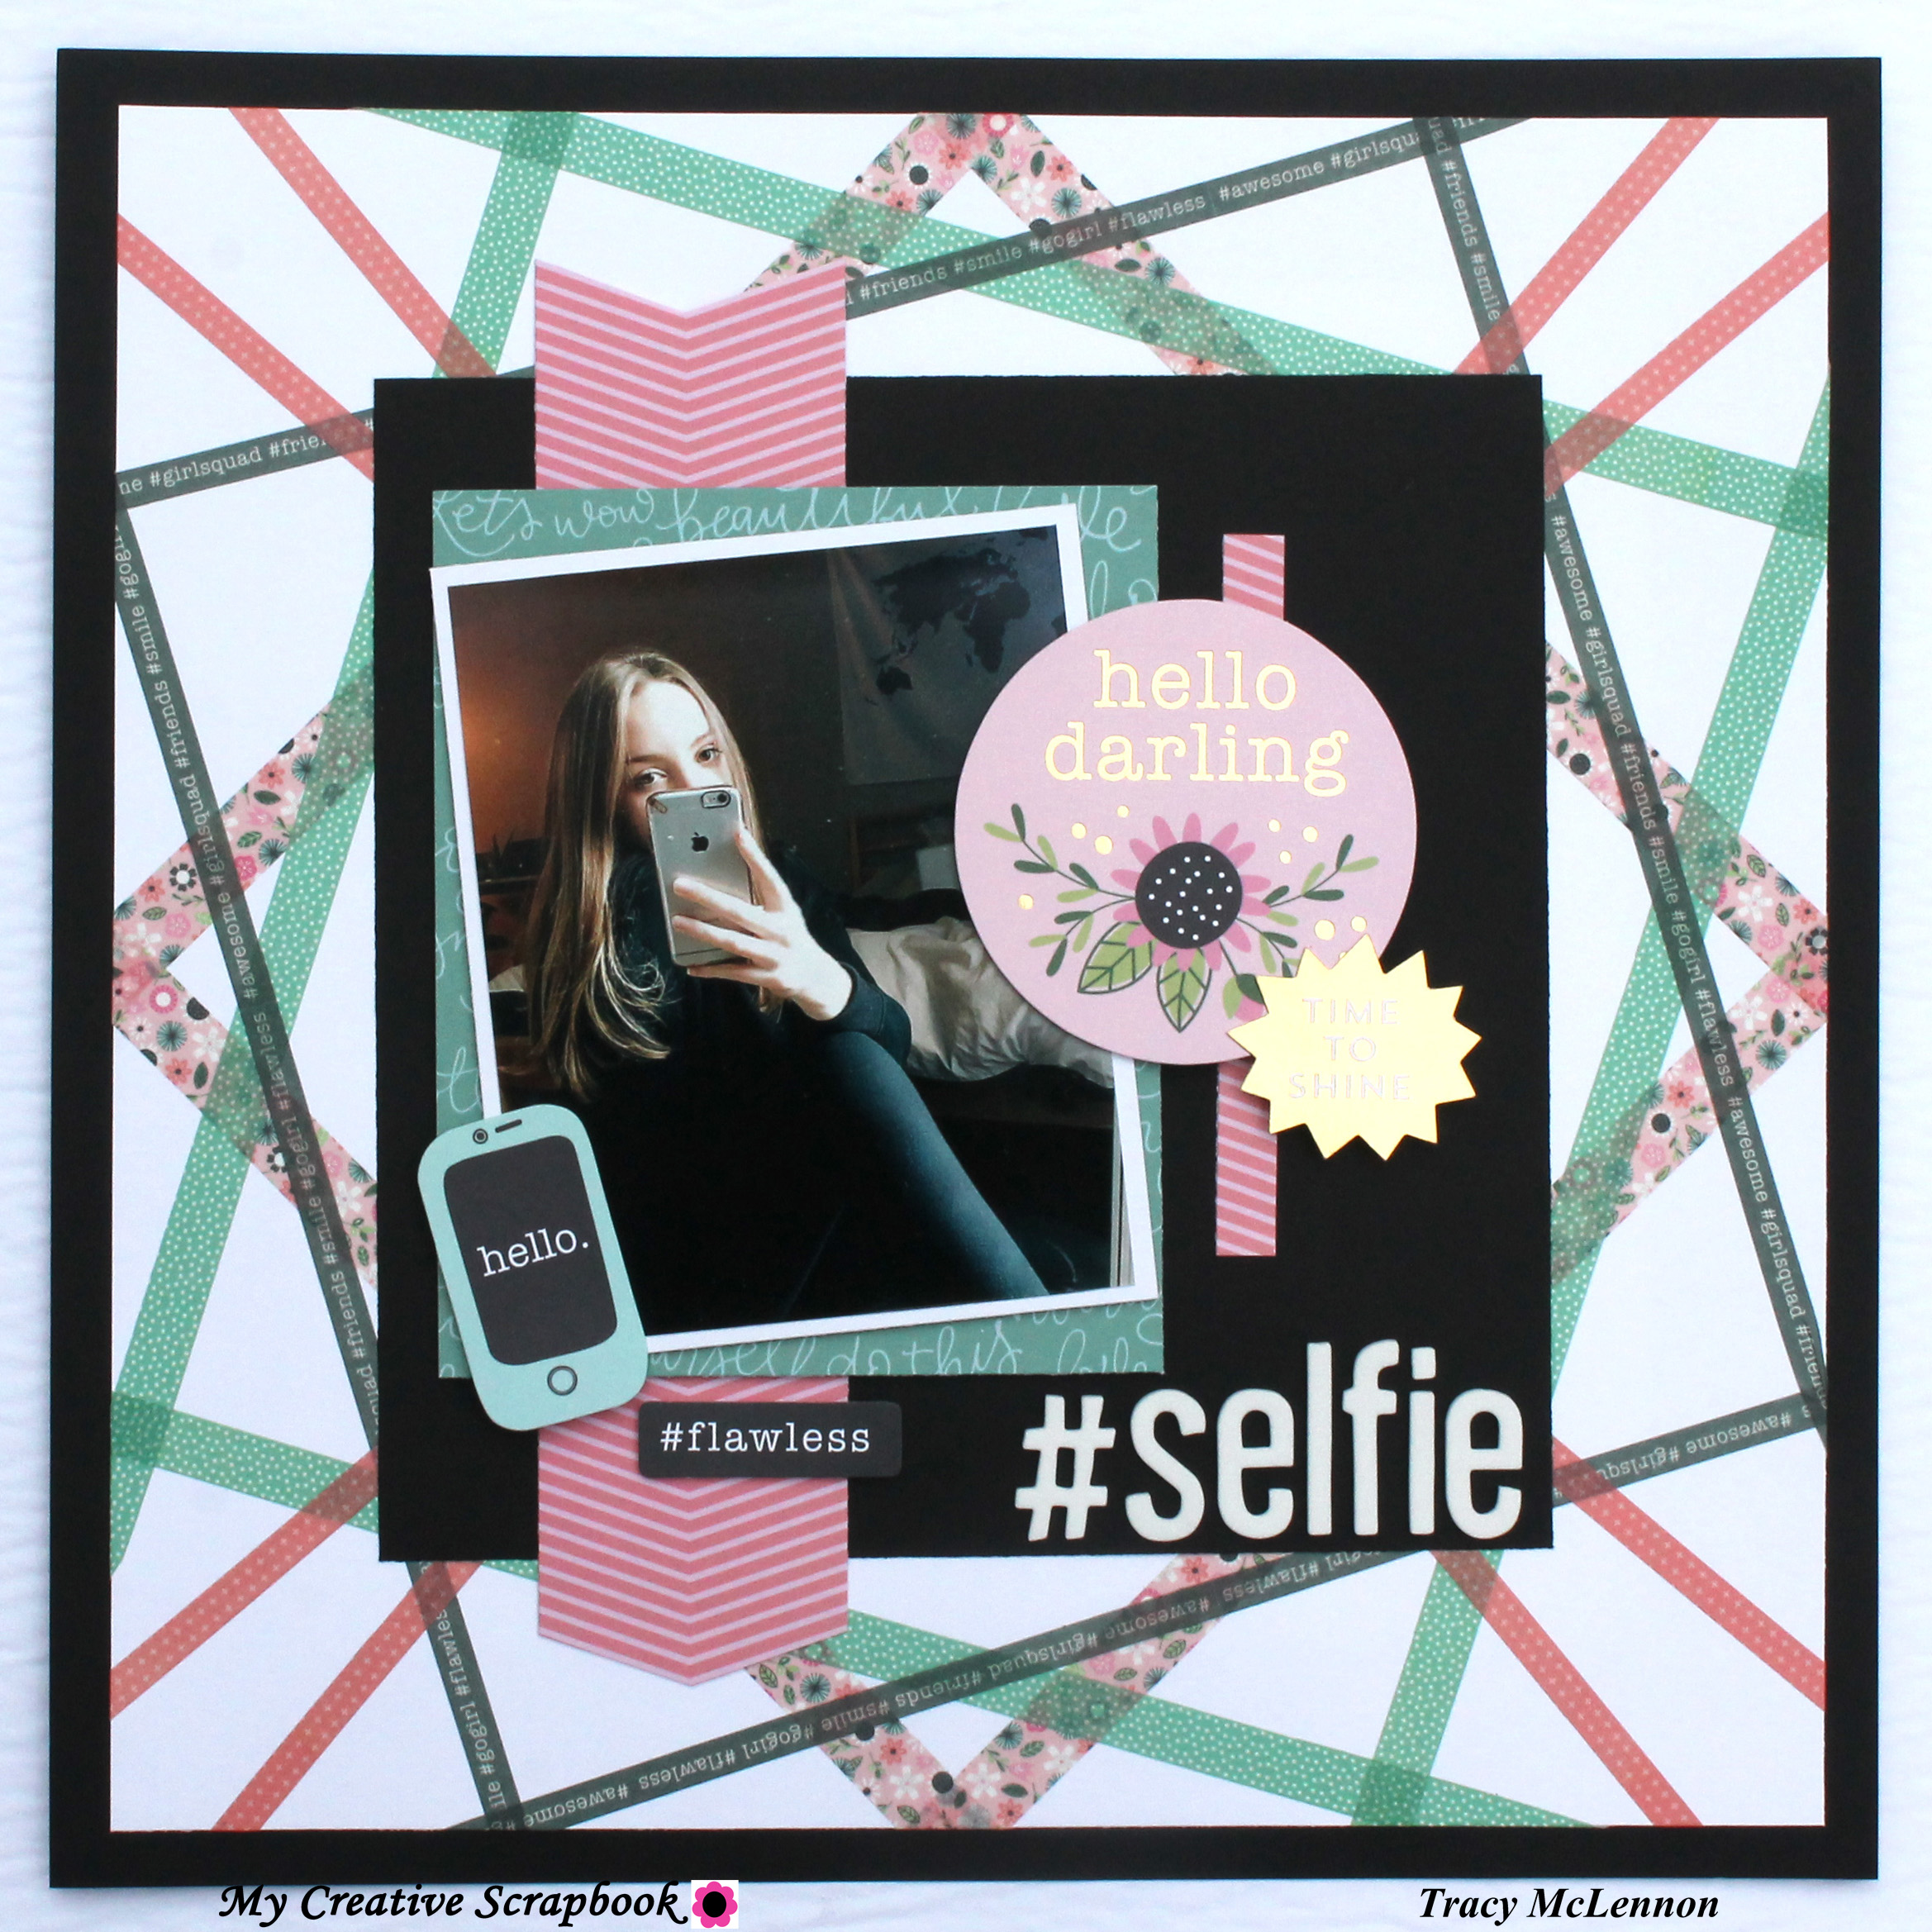
I started my layout by cutting the white cardstock down to 11.25x11.25.
I then marked the middle point of each side of the white cardstock with pencil.
First using the pink floral washi I connected those mid points that you just marked.
Then mark the mid point between the corner of the layout and the pink washi points. The next washi I used was the green polka dot. So again with large strips, create another square hitting some of those new pencil marks.

Next I used the black word washi and created the other square that the new pencil marks create.
Finally, the thinner pink polka dot washi. I used this to make narrow crosses through the middle of the layout and to the corners of the white cardstock. Adhere the white cardstock to a full sheet of black cardstock.
Next I cut a piece of black cardstock that was 8x8 and adhered it to the middle of the layout. I cut a strip of the pink chevron patterned paper and adhered it to the left hand side of the black cardstock square.

I matted my photo in white cardstock and cut a piece of the teal patterned paper that is just a little bigger. Adhere to the layout using 3D foam squares and slightly offset the layers.
Now I just got to embellish. I added all of the little bits and pieces that I thought would work with my photo.

Thanks so much for stopping by!
Tracy
No comments:
Post a Comment